Barry & Alan Art - Free bejewelled snowdrop design set and art project
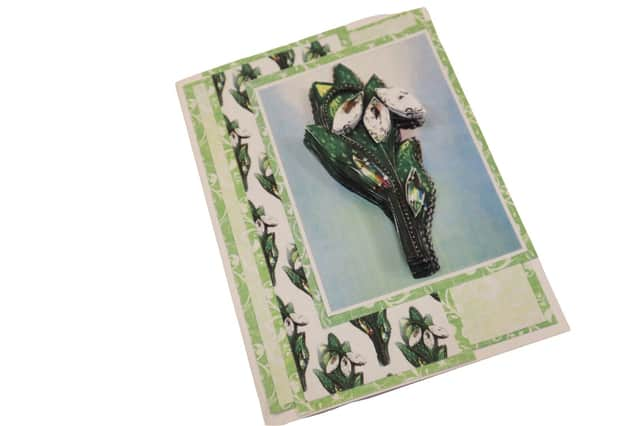

Spring into art
This is the second in the series of art projects with Barry and Alan.
Following a long and successful career, Barry Freestone and Alan Gear are both now semi-retired but have various projects they are still involved with.
Advertisement
Hide AdAdvertisement
Hide AdBarry produces videos for the website, teaches video production and, with Alan, works on a number of community-based projects.
In Alan’s case, he enjoys producing bespoke 3D pictures and digital art. He is also heavily involved in community projects in Perth as well as designing downloads for their website.
About Alan and Barry – visit for a short overview of our history and who we are – www.youtube.com/watch?v=izrJVUUO6UQ site.
To get your free project and to watch a full demonstration on how to make please visithttps://alanandbarry.co.uk/product.cfm?product_ID=18396 site.
Advertisement
Hide AdAdvertisement
Hide AdWell it won’t belong before spring starts and the snowdrop is the first to show us when it pops up its head, even when its covered with snow.
Snowdrops have many meanings and symbols associated with them – purity, innocence and sympathy and because they bloom at the end of winter it also symbolises hope.
We have brought to you a bewjewelled snowdrop design set with a complete project supported by step by step instructions and a video demonstration.
We Strongly suggest that you watch the video to get the most out of it.Once you have the design set you can create as many projects as you like using the design set as your inspiration.
Advertisement
Hide AdAdvertisement
Hide AdAll of our videos can be found on our youtube channel – https://www.youtube.com/c/AlanBarry as well as our www.alanandbarry.co.uk website.
Step 1
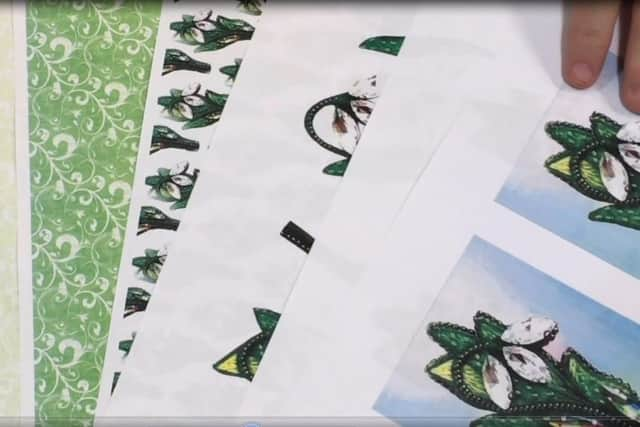

First print out all of the design sheets that you want to use in your project.
Step 2
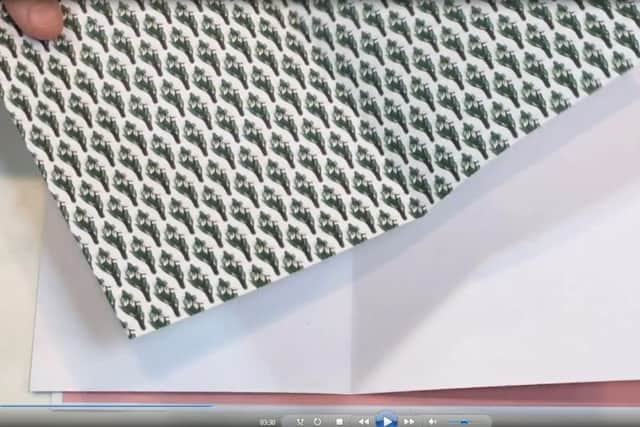

Fold a sheet of A4 card in half to make an A5 card. Then take the design background paper you want to use and trim the white edges. Fold it half and stick to the inside of the card - this will make it a nice insert for the card.
Step 3
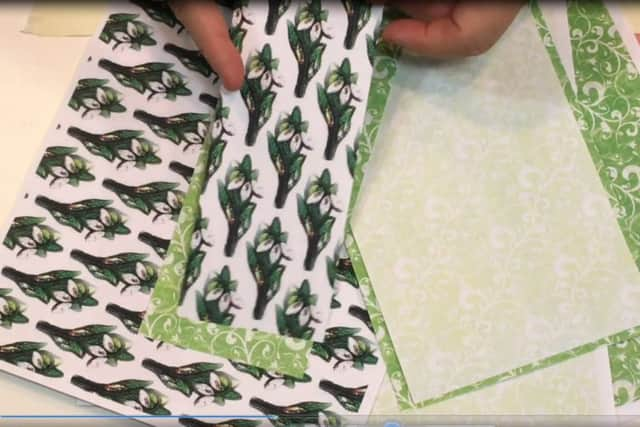

Using the assorted backing papers make some mat and layered panels to lay on the front of the card overlaying each other.
Advertisement
Hide AdAdvertisement
Hide AdStep 4
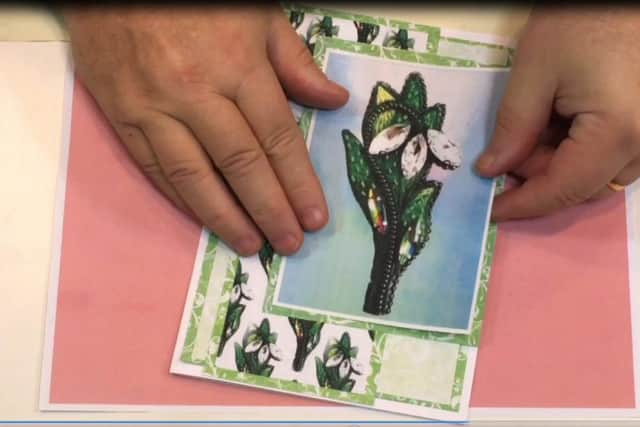

The last panel with the Snowdrops goes on the top of the other panels. At this point you have a nice card but you can add the 3D layers to give it a raised relief effect we call 3D Decoupage.
Step 5
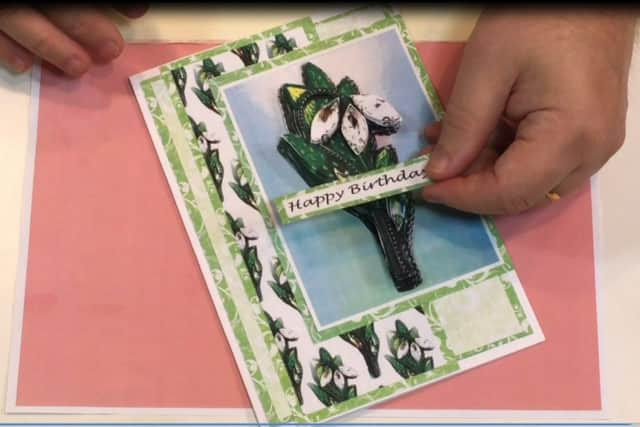

From here it its up to you how much more you add to the card – you can add a sentiment, flat backed jewels, glitter – whatever you like.
And remember to have fun everyone.
Happy Crafting – Alan and Barry.